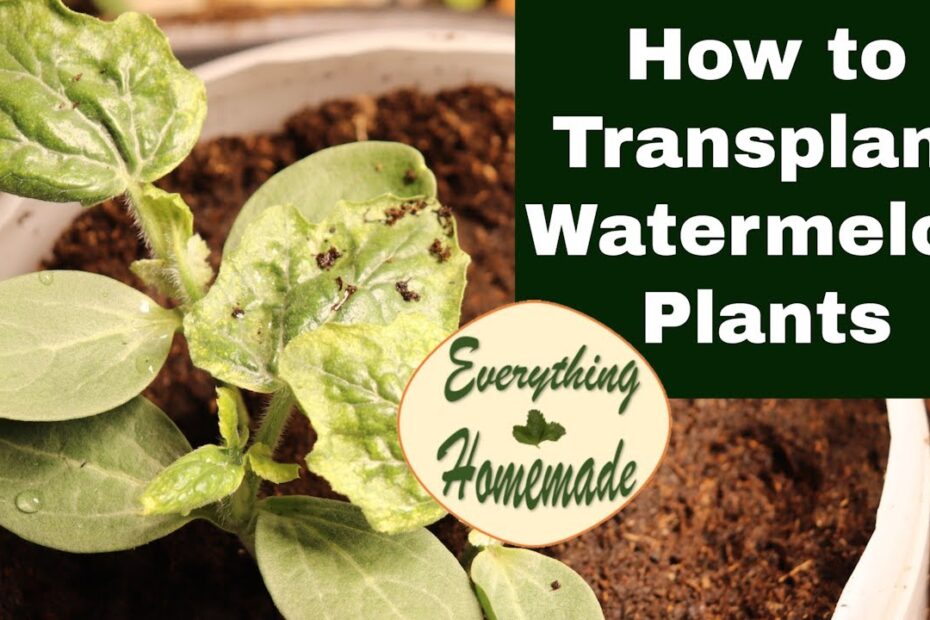
Juicy, vibrant, and refreshingly sweet – watermelons are the epitome of summer’s bounty. Whether you’re an aspiring green thumb or a seasoned gardener, the thrill of watching these sun-kissed fruits grow from mere seeds is undeniably gratifying. Now, picture this: your humble watermelon seedlings, nurtured with gentle care, ready to embark on a new journey. As the time nears to transplant these tender darlings into their permanent home, the stakes are high, and success is within reach. In this guide of horticultural triumph, we will unveil the secrets to a flawless watermelon transplantation, ensuring that your garden flourishes with the refreshing promise of a fruitful harvest. So roll up your sleeves, don your gardening gloves, and let’s dive into the art of transplanting watermelon seedlings.
Choosing the Right Timing and Location for Transplanting Watermelon Seedlings
Transplanting watermelon seedlings is a crucial step in ensuring the success of your watermelon garden. By choosing the right timing and location, you can provide the optimal conditions for your seedlings to thrive. Timing is key when it comes to transplanting watermelon seedlings. It is best to wait until all risk of frost has passed and the soil temperature consistently stays above 60°F (15°C). This usually occurs in late spring or early summer, depending on your region.
In terms of location, watermelon plants need plenty of sunlight to grow and produce sweet, juicy fruits. Choose a spot in your garden that receives at least 6-8 hours of direct sunlight each day. Additionally, the soil should be well-draining and rich in organic matter. It’s important to note that watermelon plants require ample space to spread out, so choose an area with enough room for the vines to grow without overcrowding.
To ensure successful transplanting, consider the following features or tips:
| Features/Tips | Benefits |
|---|---|
| Choose healthy seedlings | Increases chances of survival and productivity |
| Prepare the soil with organic matter | Improves soil fertility and drainage |
| Water seedlings thoroughly after transplanting | Reduces transplant shock and promotes root establishment |
By carefully considering the timing and location for transplanting watermelon seedlings, you can give your plants the best possible start. Remember to choose healthy seedlings, provide enough sunlight, and prepare the soil properly. With these guidelines, you’re on your way to growing juicy and delicious watermelons right in your own garden!

Preparing the Seedlings and Soil for Successful Transplantation
Transplanting watermelon seedlings requires careful preparation of both the seedlings and the soil to ensure a successful transplantation. Here are some tips and features to consider when preparing the seedlings and soil:
- Ensure the watermelon seedlings are well-established and have at least two sets of true leaves before transplanting.
- To minimize transplant shock, gently remove the seedlings from their nursery pots, taking care not to damage the delicate roots.
- Transplant on a cloudy day or in the late afternoon to avoid exposing the seedlings to direct sunlight or intense heat during the transplantation process.
- Choose a planting location with well-draining soil and plenty of sunlight for optimum growth.
- Prepare the soil by removing any weeds, rocks, or debris that may hinder the seedlings’ growth or root development.
- Amend the soil with organic matter, such as compost or well-rotted manure, to enrich its fertility and provide essential nutrients for the young seedlings.
| Features | Tips |
|---|---|
| Proper spacing | Ensure enough space between seedlings for optimal air circulation and future plant growth. |
| Regular watering | Water the seedlings regularly to keep the soil moist, but avoid overwatering to prevent root rot. |
| Protection from pests | Consider using organic pest control methods or providing physical barriers to protect the seedlings from common pests. |

Step-by-Step Guide to Transplanting Watermelon Seedlings with Care
Transplanting watermelon seedlings is a crucial step in the journey towards a fruitful harvest. Whether you are a seasoned gardener or a beginner, this step-by-step guide will help ensure the successful transplantation of your watermelon seedlings, giving them the best chance to thrive in their new environment.
To begin, choose a sunny and well-drained spot in your garden for transplanting. Follow these simple steps:
| Tips | |
|---|---|
| Prepare the soil | Amend the soil with compost or organic matter to enhance drainage and fertility. |
| Water the seedlings | Water the seedlings thoroughly a few hours before transplanting to ease removal from their containers. |
| Transplanting process | Dig a hole wide and deep enough to accommodate the root ball. Gently remove the seedling from its container, avoiding damage to the fragile roots. Place the seedling in the hole, cover it with soil, and press gently to secure. |
After transplanting, it is vital to provide your watermelon seedlings with proper care and attention. Keep the following tips in mind:
- Watering: Water the transplanted seedlings deeply and regularly, ensuring the soil remains consistently moist but not waterlogged.
- Spacing: Leave ample space between transplanted seedlings to allow for their sprawling growth habit.
- Mulching: Apply a layer of organic mulch around the seedlings to conserve moisture, suppress weeds, and regulate soil temperature.
By following these step-by-step instructions and implementing the provided tips, you will set your watermelon seedlings on the path to success. Happy transplanting!


