The art of cultivating nature’s green wonders might seem like a mystifying and overwhelming endeavor to some, but fear not, intrepid naturalists! Today, we embark on a journey into the realm of horticulture, where we shall unravel the secrets of planting the marvelous milo crop. Nestled amidst the verdant fields and shimmering sunlight, milo enchants both novice gardeners and seasoned agronomists alike with its regal presence. With our sleeves rolled up and hands eager to dig deep into the soil, let us delve into the fundamentals of planting milo and unlock the gateway to a blossoming paradise!
Planting Milo: A Comprehensive Guide for Successful Growth
Getting Started
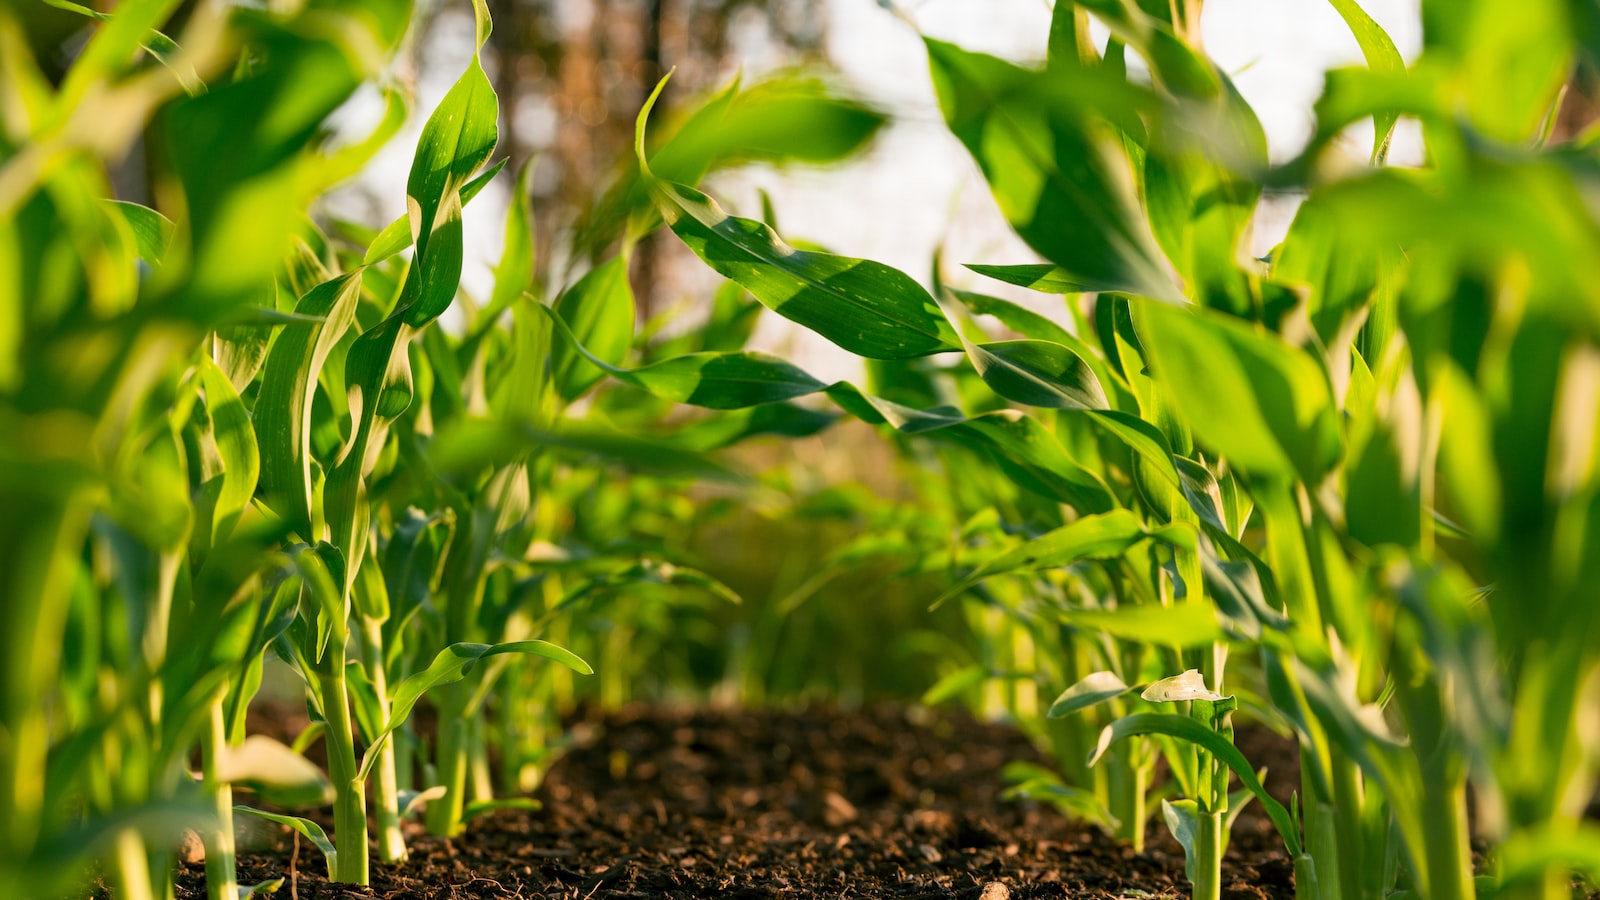
Planting milo can be a rewarding experience, whether you’re a seasoned gardener or just starting out. These hardy grains, also known as sorghum, offer a plethora of uses, from livestock feed to human consumption. For successful growth, it is essential to choose the right location. Milo thrives in warm climates with temperatures ranging between 75-85°F (24-29°C). Ensure your chosen spot receives full sun for at least 6-8 hours a day, as milo flourishes in bright light.
Once you’ve found the perfect spot, the soil should be prepared to offer optimal conditions for your milo plants. Sandy loam soil with good drainage is ideal, but milo can tolerate a wide range of soil types, including clay and loamy soil. Test the soil by conducting a pH test, aiming for a range of 6.0-7.5. It’s wise to add organic matter, such as compost or well-rotted manure, to improve soil fertility and structure.
Essential Tips for Successful Milo Growth
| Features | Tips |
|---|---|
| Watering: | Milo requires moderate water, so aim for 1-1.5 inches of water per week, evenly distributed. Avoid overwatering, as it may lead to root rot. |
| Fertilization: | Apply a balanced fertilizer, such as a 10-10-10 or a 14-14-14, at planting time and once during the growing season to ensure sufficient nutrients for healthy growth. |
| Weed Control: | Keep the area around your milo plants free from weeds by regular hand pulling or using a shallow hoe. Weeds can hinder milo growth by stealing nutrients and sunlight. |
By following these tips and providing the proper care, you’re well on your way to a successful milo harvest. Enjoy watching your milo plants thrive and reap the rewards of their bountiful growth!
Selecting the Ideal Location: Factors to Consider and Best Practices
When it comes to planting milo, choosing the perfect location is essential for a successful yield. To ensure your milo crop thrives, there are several key factors to consider. Firstly, take into account the climate of your region. Milo requires a warm climate with temperatures ranging between 75°F and 95°F (24°C and 35°C). Additionally, it is crucial to assess the soil quality and drainage. Milo prefers well-drained soil with a pH level between 5.8 and 7.5. Conducting a soil test can help you determine if any amendments are necessary to optimize the soil conditions for milo cultivation.

Another crucial aspect to consider is the sunlight exposure. Milo plants generally require full sun exposure to grow efficiently, so selecting an area with minimal shade is recommended. Furthermore, it is advisable to choose a location with adequate air circulation to prevent the growth of fungus and pests. Maintaining proper spacing between milo plants is also important for optimal airflow, which can help in preventing diseases and maximizing your milo yield.
| Features | Tips |
|---|---|
| Warm climate (75°F – 95°F) | Avoid excessive heat or frost |
| Well-drained soil (pH 5.8 – 7.5) | Conduct a soil test; amend if required |
| Full sun exposure | Avoid shaded areas |
Preparing the Soil: Essential Steps for Healthy Milo Growth
Planting milo can be a rewarding experience, but it requires careful preparation of the soil to ensure healthy growth. Follow these essential steps to create the ideal environment for your milo crop:
| Step 1: Clear the Area | Step 2: Test the Soil | Step 3: Amend the Soil |
| Remove any weeds, rocks, or debris from the planting area to provide a clean and weed-free environment for your milo plants. | Perform a soil test to determine its pH level and nutrient content. This will help you understand what soil amendments may be necessary for optimal milo growth. | Based on the soil test results, amend the soil with organic matter such as compost or well-rotted manure. This will improve the soil structure and provide essential nutrients for the milo plants. |
| Step 4: Till the Soil | Step 5: Create Rows | Step 6: Water the Soil |
| Use a tiller or a garden fork to loosen the soil and break up any compacted areas. This will improve drainage and aeration for the milo plants’ root systems. | Create rows by using a hoe or rake. Each row should be approximately 2-3 feet apart to provide enough space for the milo plants to grow without competing for resources. | Thoroughly water the soil before planting the milo seeds. This will ensure good seed-to-soil contact and provide the necessary moisture for germination. |
By following these essential steps, you’ll be on your way to a successful milo crop. Remember to monitor the soil moisture levels and provide adequate irrigation throughout the growing season. Additionally, regular weeding and mulching can help suppress weed growth and retain soil moisture, leading to even healthier milo plants. Happy planting!

Sowing and Caring for Milo: Proven Techniques for Optimal Results
Milo, also known as grain sorghum, is a versatile and hardy crop that can be grown in various climates and soil types. To ensure optimal results when planting milo, follow these proven techniques that cover sowing and caring for this incredible grain:
Sowing Techniques:
- Pick the right time: It is crucial to sow milo in the appropriate season and climate. Typically, planting should take place when soil temperatures reach around 60°F (15°C) and all threats of frost have passed.
- Prepare the soil: Prior to sowing, ensure the soil is well-drained, fertile, and weed-free. Remove any debris, rocks, or clumps that could impede root development. Milo prefers sandy loam or clay soil, so adjust accordingly.
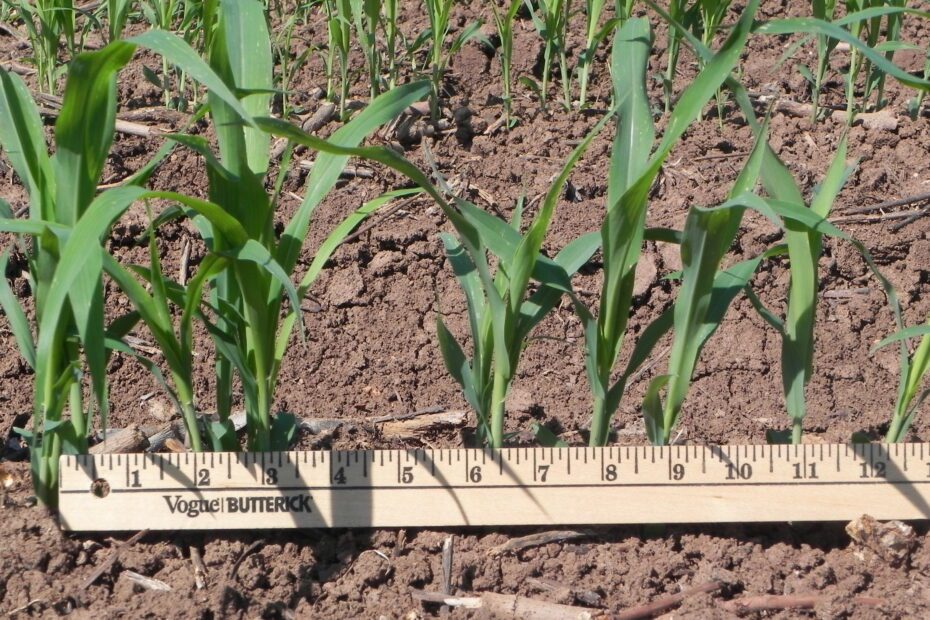
- Seed depth and spacing: Plant milo seeds about 1 to 1.5 inches deep, spaced around 8 to 12 inches apart. Maintain optimal spacing to prevent competition for nutrients, water, and sunlight.
- Watering: Adequate watering is crucial during germination and establishment phases. Lightly water the soil immediately after sowing and continue with frequent irrigation until seedlings emerge.
- Fertilization: Apply a balanced fertilizer, such as 10-10-10, before planting milo to provide necessary nutrients. Consider conducting a soil test to determine specific nutrient requirements.
Caring for Your Milo:
- Weed control: Regularly weed your milo field, especially during the early stages of growth. Weeds compete with milo for essential resources and can significantly reduce the crop’s yield.
- Pest and disease management: Monitor your milo plants for any signs of pests or diseases. Common pests include aphids, grasshoppers, and armyworms. Utilize appropriate insecticides or seek natural pest management methods to protect your crop.
| Features | Tips |
|---|---|
| Drought tolerance | Enforcing proper irrigation during dry spells |
| High yield potential | Implementing regular fertilizer applications |
| Forage usage | Utilize milo as silage or for livestock feed |
Frequently Asked Questions
Q: What are the secret steps to successfully plant milo?
A: Unveiling the Mysterious Ways of Milo Planting
Q: How can I ensure a flourishing milo crop?
A: Unlocking Nature’s Bounty: The Art of Cultivating Luscious Milo
Q: Is it possible to plant milo without any prior gardening expertise?
A: Planting Milo 101: A Beginner’s Guide to Growing this Vibrant Crop As we come to the end of this milo planting adventure, it’s clear that growing this unique crop is both an art and a science. From carefully tilling the soil to nurturing each young sprout, planting milo demands patience, dedication, and a little touch of magic.
Remember, milo isn’t just any ordinary plant—it’s a resilient survivor, whispering stories of ancient civilizations across generations. As you embark on your milo planting journey, let your imagination weave tales of untamed lands and fierce warriors, making this simple act of cultivation a truly enchanting experience.
Listen closely to the whispers of the wind as it dances through the milo fields, reminding us of the interconnectedness of all living beings. With gentle care, let your hands become an extension of nature itself, carefully nurturing each milo seed with the hopes of a bountiful harvest.
As you watch the milo plants stretch their vibrant green arms towards the sky, be reminded of your own limitless potential. Just like this resilient crop, you too can overcome any obstacle with determination and resilience.
Let this journey serve as a reminder to us all: in the modern world, where technology and instant gratification reign, sometimes simplicity is the greatest treasure. Planting milo allows us to reconnect with the earth, grounding ourselves in the traditions that have sustained humanity for centuries.
Now, armed with knowledge and inspiration, it’s time to grab that shovel, feel the earth between your fingers, and embark on your very own milo planting adventure. May your fields be filled with vibrant greens, and may the grains of milo sing songs of abundance and prosperity.
So go forth, intrepid planters, into the world of milo. Embrace the beauty that nature has bestowed upon us, and may your journey be filled with growth, learning, and a touch of the extraordinary.

- When to Put Weed and Feed on Lawn in Michigan - October 16, 2023
- When to Fertilize Potatoes Plants - October 16, 2023
- Can You Plant Clover in the Spring - October 16, 2023
Contents
- 1 Planting Milo: A Comprehensive Guide for Successful Growth
- 2 Selecting the Ideal Location: Factors to Consider and Best Practices
- 3 Preparing the Soil: Essential Steps for Healthy Milo Growth
- 4 Sowing and Caring for Milo: Proven Techniques for Optimal Results
- 5 Sowing Techniques:
- 6 Caring for Your Milo:
- 7 Frequently Asked Questions