Unleash the hidden jockey within you and embark on an electrifying journey to conquer the vast landscapes of your yard! But wait, what’s this? Your trusty steed, your faithful companion, your riding lawn mower, seems to have lost its spark! Fear not, brave gardening adventurer, for we bring you the ultimate guide on how to change a riding lawn mower battery. Buckle up, fasten your helmet, and prepare to discover the electrifying secrets to recharge your mowing might and restore your mower to its former glory. Whether you’re a seasoned rider or a greenhorn gardener, this step-by-step guide will illuminate the path towards a rejuvenated and unstoppable grass-carving machine. So, hop on, grab your toolbox, and let’s dive into the electrifying world of battery replacement!
Preparing for battery replacement
When it comes to maintaining your trusty riding lawn mower, one essential task you may have to tackle is replacing the battery. Fear not, as we have got you covered with this simple and helpful guide on how to change a riding lawn mower battery. By following these steps, you’ll be back to mowing your lawn in no time!
Before you start the battery replacement process, it’s important to make sure you have all the necessary tools at hand. Here are some features and tips to keep in mind:
| Features | Tips |
|---|---|
| Suitable battery size: Make sure you purchase a battery that fits your specific riding lawn mower model. Refer to the owner’s manual or consult with a professional if needed. | Safety precautions: Always wear protective gear, including gloves and safety glasses, to prevent any injuries during the replacement process. Additionally, disconnect the mower’s spark plug to avoid accidental starts. |
| Battery maintenance: Extend the life of your battery by keeping it clean and free from debris. Regularly check the terminals for corrosion and clean them with a terminal cleaner or a mixture of baking soda and water. | Battery disposal: Dispose of your old battery responsibly by recycling it at a local battery recycling center. This helps protect the environment and ensures safe handling. |
| Battery replacement interval: Consider replacing your battery every two to three years, or as recommended by the manufacturer, to ensure optimal performance and prevent unexpected failures. | Proper connection: When installing the new battery, ensure that the positive (+) and negative (-) terminals match with the corresponding cables on your riding lawn mower. |

Removing the old battery safely and effectively
One essential aspect of changing a riding lawn mower battery is . Ensuring this step is done correctly not only helps prevent any accidents but also guarantees a smooth battery replacement process. Here are some tips and features to keep in mind:
-
Protective gear: Before starting the removal process, make sure to wear appropriate protective gear such as gloves and safety glasses. This will shield you from any potential harm caused by battery acid or any other hazardous materials.
-
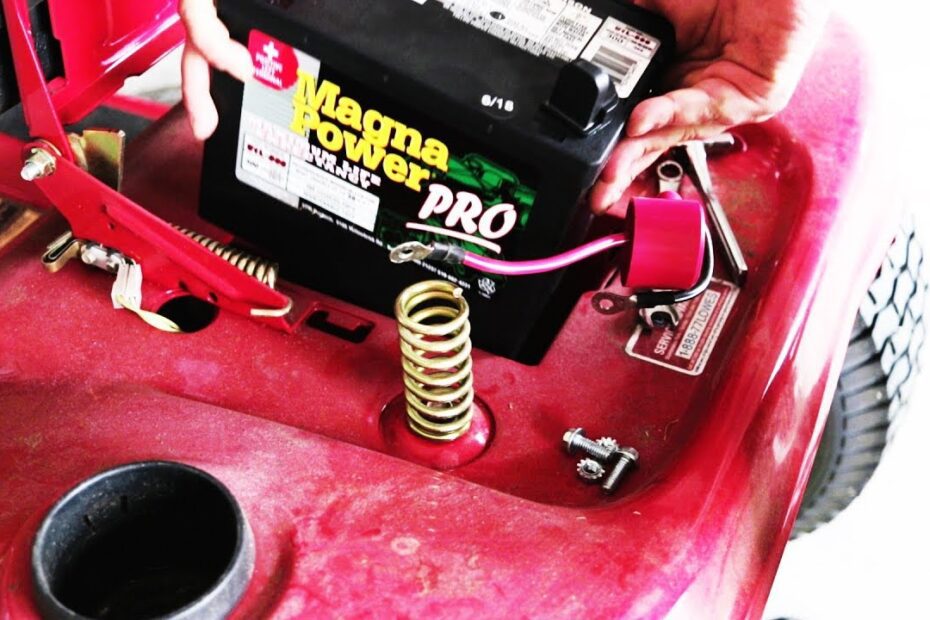
Disconnect the battery: The first step is to disconnect the negative (black) cable from the battery’s terminal. Use a wrench to loosen the nut, then carefully pull the cable away from the terminal. Repeat this step for the positive (red) cable. Be cautious to avoid creating any sparks during this process.
-
Battery hold-down: Once the cables are disconnected, inspect the battery hold-down straps or brackets securing the battery in place. Depending on the model of your riding lawn mower, these may need to be removed in order to free the battery. Consult your mower’s manual for specific instructions on removing the hold-downs.
-
Table: Essential Features and Tips
| Feature/Tips | Description |
|---|---|
| Maintenance-free | Opt for a maintenance-free battery for hassle-free operation. |
| Cold-cranking amps | Check the battery’s cold-cranking amps (CCA) rating to ensure it meets your mower’s requirements. |
| Battery lifespan | Consider the battery’s estimated lifespan to choose a durable and long-lasting option. |
Remember, the safe and effective removal of the old battery is the foundation for a successful replacement. Take your time, follow the instructions carefully, and always prioritize safety. With these tips and features in mind, you’ll be ready to take on the task with confidence and ensure your riding lawn mower keeps running smoothly.

Choosing the right replacement battery
Replacing the battery on your riding lawn mower can be a daunting task, but fear not – we are here to guide you through the process. When it comes to , there are a few factors to consider. Firstly, it is important to determine the correct battery size for your specific mower model. Consult your mower’s manual or check the existing battery to find the appropriate dimensions. Remember, a battery that is too large or too small may not fit properly or provide enough power.
Another cru
cial aspect to consider is the battery’s voltage rating. Different mower models require different voltage levels, typically ranging from 12 to 12.6 volts. Be sure to match the voltage rating of the new battery with the one you are replacing to ensure compatibility. Additionally, it is essential to look for a battery that has a good amp hour (AH) rating. This rating determines the battery’s capacity and how long it can provide power. Opt for a battery with a higher AH rating if you have a larger lawn to mow or if you frequently use attachments such as headlights or a power-assisted bagger.To simplify your decision-making process, we have compiled a helpful table highlighting some key features and tips to look for when selecting a replacement battery for your riding lawn mower:
| Feature/Tips | Description |
|---|---|
| Battery Size | Ensure the replacement battery matches the dimensions required for your mower model. |
| Voltage Rating | Match the voltage rating of the new battery with that of the one you are replacing. |
| Amp Hour (AH) Rating | Consider a higher AH rating if you have a larger lawn or frequently use power-consuming attachments. |
Remember to prioritize safety when changing your riding lawn mower battery. Disconnect the negative terminal first and then the positive terminal. Take note of the battery’s orientation and carefully lift it out of its compartment. Gently place the new battery in its place, ensuring a snug fit. Reconnect the positive terminal first, followed by the negative terminal. Double-check to make sure all connections are secure before firing up your mower for a smoothly running yard care experience.