Growing your own vegetables can be a rewarding and cathartic experience, transforming even the smallest patch of dirt into a bountiful oasis. While many gardeners are familiar with transplanting traditional crops like tomatoes and peppers, there is an intriguing curiosity surrounding the potential transplantation of other lesser-known vegetables. Enter the enigmatic and often misunderstood okra. This peculiar pod-producing plant has left many green thumbs wondering: can you transplant okra? In this article, we delve into the world of horticultural experimentation, seeking answers to this captivating question with our hearts grounded in science and our hands ready to explore the unknown. So, grab your gardening gloves and join us on this journey through the thriving world of okra transplantation.

Transplanting Okra: A Comprehensive Guide
Can You Transplant Okra?
Transplanting okra can be a great way to ensure a successful harvest. Many gardeners choose to start their okra indoors and later transplant the seedlings into their garden beds or containers. While it is possible to directly sow okra seeds in the soil, transplanting offers several benefits. Whether you’re a beginner or an experienced gardener, this guide will provide you with all the information you need to successfully transplant okra.
Essential Tips for Transplanting Okra:
| Features | Tips |
|---|---|
| Bright Sunlight | Choose a sunny location for your okra seedlings as they thrive in full sunlight. |
| Well-Drained Soil | Ensure the soil is well-drained as waterlogged roots can cause damage to the plant. |
| Adequate Spacing | Provide enough space between each okra plant to allow for proper growth and airflow. |
When transplanting okra seedlings, it’s important to choose a suitable location that receives bright sunlight for at least 6 to 8 hours a day. Okra plants require ample sunlight to thrive and produce a bountiful harvest. Additionally, opt for a well-drained soil type that provides adequate drainage, preventing waterlogging which can lead to root rot and stunted growth. Ensure the soil is enriched with organic matter to promote healthy root development.
To give your okra plants enough space to grow, plant them at least 12 to 18 inches apart. This helps prevent overcrowding and gives each plant enough room to spread its leaves and branches without competition. Adequate spacing facilitates good air circulation and reduces the risk of diseases. Remember to water your newly transplanted okra seedlings thoroughly but avoid overwatering as it can drown the delicate root system. By following these useful tips, you’ll successfully transplant your okra plants and enjoy a fruitful harvest!

Understanding the Optimal Conditions for Okra Transplantation
Okra, also known as lady’s finger, is a versatile and delicious vegetable that can thrive when transplanted under optimal conditions. Transplanting okra can be a great way to maximize your yield and ensure a successful growing season. However, there are certain factors to consider before transplanting your okra seedlings.

Firstly, it is important to choose the right time for transplanting. Okra generally prefers warm weather, so it is best to wait until after the last frost date in your region. This will help protect the tender seedlings from any unexpected cold spells. Additionally, transplanting during a period of steady warmth will ensure that the okra has enough time to establish its root system before the heat of summer arrives.
When transplanting okra, it is crucial to pay attention to the soil conditions. Okra thrives in well-drained soil that is rich in organic matter. Prior to transplanting, you can prepare the soil by incorporating compost or well-rotted manure. This will provide essential nutrients for the young plants and promote healthy growth. Ensuring the soil pH is between 6.0 and 6.5 is also ideal for the optimal growth of okra.
To help you achieve the best results when transplanting okra, here are some features and tips to consider:
| Features/Tips | Benefits |
|---|---|
| Use well-draining soil | Prevents waterlogged roots and promotes optimal growth |
| Provide ample spacing | Allows for proper airflow and prevents overcrowding |
| Mulch around the plants | Helps conserve moisture and suppresses weed growth |
By , you can ensure the success of your okra plants and enjoy a bountiful harvest. Remember to provide the right timing, soil conditions, and consider the provided features and tips to create an ideal environment for your okra seedlings to thrive. Happy gardening!

Step-by-Step Guide: How to Successfully Transplant Okra
Whether you’re a seasoned gardener or just starting out, you may find yourself wondering, “Can you transplant okra?” Well, the good news is, yes, you can! Transplanting okra is a great way to ensure a successful harvest and optimize the growth of your plants. In this step-by-step guide, we will walk you through the process of transplanting okra, from selecting the right seedlings to caring for your newly transplanted plants.
Before you begin, it’s important to choose healthy okra seedlings that are about 6-8 weeks old. Look for strong stems, vibrant green leaves, and well-established root systems. Once you have your seedlings ready, follow these steps for a successful transplant:
- Prepare the soil: Okra thrives in well-draining soil with a pH range of 6.0-6.8. Amend the soil with organic matter and ensure it receives plenty of sunlight.
- Dig the holes: Dig holes that are about 2 feet apart and deep enough to accommodate the root ball of each seedling.
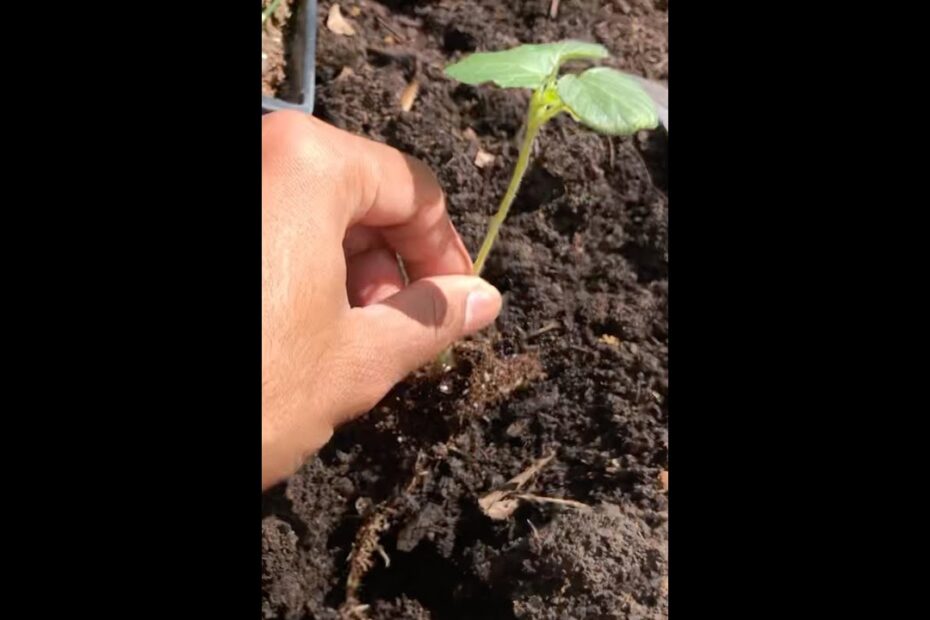
- Transplant the seedlings: Gently remove the seedlings from their containers, being careful not to damage the roots. Place each seedling into a hole, making sure it sits at the same depth as it was in the container.
- Water and mulch: After transplanting, water each seedling thoroughly to settle the soil around the roots. Apply a layer of organic mulch around the base of the plants to retain moisture and suppress weed growth.
To make your okra transplanting experience even more successful, consider these handy tips and features:
| Tips | Features |
|---|---|
| 1. Harden off seedlings before transplanting by gradually exposing them to outdoor conditions. | – Hardy okra varieties |
| 2. Space the plants adequately to promote good air circulation and prevent diseases. | – Disease-resistant varieties |
| 3. Stake taller varieties for support as they grow. | – Tall-growing okra varieties |
By following these steps and tips, you can successfully transplant okra and enjoy a bountiful harvest of this delicious and versatile vegetable in your own garden. Happy transplanting!

Expert Tips for Ensuring Healthy Transplants
Transplanting okra can be a rewarding experience for any home gardener. The key to successful transplanting lies in understanding the specific needs of okra plants and implementing expert tips to ensure their healthy growth. Here are some valuable insights to help you master the art of transplanting okra and enjoy a bountiful harvest.
Proper Timing:
Timing plays a crucial role in the success of your okra transplant. Make sure to start seeds indoors about 4-6 weeks before your last frost date. This will give the seedlings enough time to develop strong roots and establish themselves before being transplanted to the garden. Always wait until after any threat of frost has passed and the soil has warmed up, as okra thrives in warm temperatures.
Choosing the Right Location:
Okra plants love full sun and require at least 6-8 hours of direct sunlight daily. When selecting a location, ensure that the area has well-draining soil to prevent root rot. Okra can tolerate a range of soil conditions but prefers soil that is rich in organic matter. Consider adding compost or well-rotted manure to provide the necessary nutrients for optimal growth. Space the plants at least 18-24 inches apart to allow ample room for their height and spread.
| Feature/Tips | Benefits |
|---|---|
| Water consistently | Prevents wilting and promotes healthy growth |
| Fertilize regularly | Ensures high yields and nutrient-rich okra pods |
| Mulch around plants | Suppresses weeds and retains soil moisture |
Incorporating these essential tips into your okra transplanting process will give your plants the best chance for success. With proper timing, ideal location selection, and following additional features and tips, you’ll be rewarded with a flourishing okra harvest that will make your garden the envy of your neighbors!
Frequently Asked Questions
Q: Can you transplant okra to a different location, like a green-fingered magician?
A: While you may not possess magical powers, transplanting okra is indeed possible!
Q: Is it possible to uproot okra and relocate it, just like changing the scene in a theatrical performance?
A: Absolutely! With a bit of horticultural skill, you can move okra plants to new garden beds or containers, creating your own garden drama!
Q: Can okra be transported from one spot to another, metamorphosing the landscape like a shape-shifting artist?
A: Though it won’t magically transform your surroundings, okra can happily adapt to a new home if you give it some tender care and remain cautious of its delicate roots. As we come to the end of our exploration into the world of okra transplants, we find ourselves marveling at the wonders of nature and the possibilities that lie within a tiny seed. Our journey has been enlightening, unveiling the secrets and challenges of transplanting this beloved vegetable.
While the process of transplanting okra may seem daunting to some, we have discovered that with a little care and finesse, success can be achieved. From preparing the soil to nurturing the delicate seedlings, every step demands attention and expertise. However, the rewards that await those who persevere are nothing short of magical.
Nature has its own way of teaching us patience, as we observe the slow but steady growth of our transplanted okra. Tender shoots transform into robust plants, reaching for the skies in search of sunlight and nourishment. The vibrant green leaves dance in the wind, whispering secrets passed down from generations of okra growers.
Yet, like any creative endeavor, transplanting okra pushes us to embrace the beauty of unpredictability. No two plants are the same, adding an element of mystery and surprise to the process. It is in these unexpected moments that we might discover a variety of flavors, colors, and textures. Nature’s palette is vast, and the possibilities are endless.
In the grand tapestry of food cultivation, the journey doesn’t end with transplants alone. We embark upon a voyage of kitchen experimentation and culinary exploration, led by the harvest of our efforts. From traditional recipes passed down through generations, to daring new flavors birthed by our curious souls, okra takes center stage as a versatile ingredient that transcends boundaries and cultures.
So, can you transplant okra? The answer lies within your green-thumbed spirit and your willingness to seize the opportunity. Like a composer composing a symphony or an artist painting a masterpiece, you hold the power to create a bountiful okra garden, teeming with life and flavor.
As we bid farewell to this article, we encourage you to take the knowledge and inspiration gained here and embark on your own odyssey of okra transplantation. Unearth the mysteries of the soil, dance with the rhythm of the sun, and nurture your plants with love. And remember, the world of okra awaits, ready to enchant your taste buds and ignite your culinary imagination.

- When to Put Weed and Feed on Lawn in Michigan - October 16, 2023
- When to Fertilize Potatoes Plants - October 16, 2023
- Can You Plant Clover in the Spring - October 16, 2023